

Contour makeup is your secret to that bold, sculpted look without changing a thing about you! It’s all about playing with light and shadow to amp up your natural bone structure, while ditching those intimidating pro techniques from social media. We’ve got your simple, stress-free beginner roadmap to master facial sculpting in minutes.
In short…
Get direct mentorship from industry pros plus hands-on kit training in our online makeup courses. Turn your contour skills into a legit, recognised career!
 Image Source: Envato.
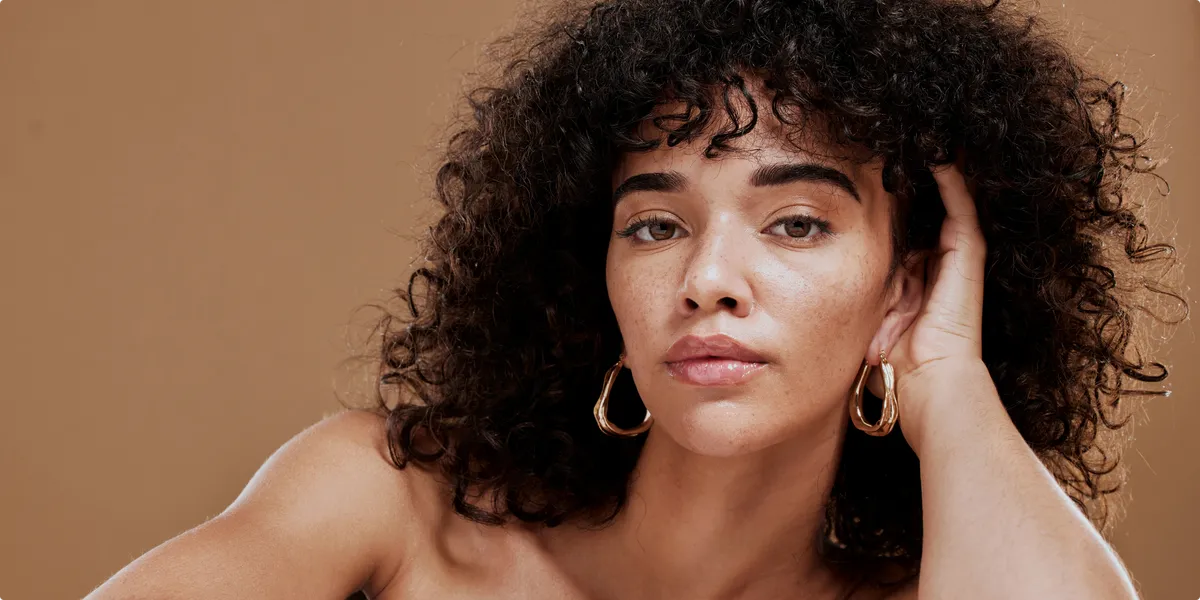
Contour makeup uses shades 1-2 tones darker than your skin to create depth and dimension. Foundation flattens your natural features into one even colour, but contour mimics real shadows where light naturally falls. The result? Chiselled cheeks, a slimmer nose, and sharper jawline.
Skip subpar results! Nail that pro-level contour with these beginner essentials.
 Image Source: Adobe Stock.
Master contouring with this foolproof beginner routine. Work on clean, moisturised skin with foundation already applied. Remember, always build gradually to avoid muddy looks.
Suck in your cheeks or feel for the cheekbone hollow. Swipe contour just below it, starting near your ear and stopping two fingers from your mouth corner (avoids a droopy effect). Little-known tip: Angle slightly upward toward your temples. This slims and lifts instantly. Use 2-3 thin layers over heavier application.
Apply a thin line along your hairline and into temples. Skip the centre forehead. Shadowing here shortens a long face. Blend softly into hairline to shrink wide foreheads without looking obvious.
Trace along your jawbone from ear to chin tip. For round faces, extend slightly under the chin centre. Soften at the chin to prevent a square look. This creates that natural jawline contouring everyone searches for.
Dip a tiny detail brush in contour and draw two fine lines down each nostril side, from brow to tip. Close the gap at the tip for a narrower bridge. Add a tiny dot at nostril wings and blend outward. This visually shortens wide noses without surgery vibes.
With a fan brush or fingertips, dot highlighter on high points: cheekbone peak, nose bridge centre, brow bone inner corners, cupid's bow, and chin centre. Blend gently. Skip matte highlight on oily skin and opt for satin for staying power.
Use a clean, fluffy blending brush or damp sponge in upward, circular motions only. No dragging down, which ages the face. Work contour first, then highlight. Lightly mist with setting spray mid-blend to lock it without caking; wait 30 seconds before powdering.
Entire process takes 3-5 minutes once practiced. Check in a side mirror for profile balance. Always test shades in natural light first. This lifts, defines, and flatters any face shape.
 Image Source: Envato.
No one-size-fits-all here. Tailor placement to play up your natural features and fix subtle imbalances. Determine your shape by looking straight-on: measure forehead vs. cheekbones vs. jawline (widest part wins). Always blend outward from hollows for seamless results.
Add angles to elongate: Heavy contour temples, jawline edges, and under cheekbones toward ears. Skip chin centre and focus sides only. Extend jaw contour slightly under the ear for instant slimming without hollowing cheeks too much.
You're blessed with balance, so standard placement shines! Cheek hollows (ear-to-mouth line), subtle hairline, jaw trace, nose sides. Light touch everywhere prevents over-sculpting.
To balance wide forehead and pointed chin, contour forehead sides/temples heavily, chin tip softly, plus standard cheeks/nose. Little-used hack: Skip jawline contour here. Your natural V-shape already defines it. Overdoing jaw squares the lower face.
Soften strong angles: Blend contour in rounded C-shapes at jaw corners and forehead angles, lighter on cheeks. Use a fluffy brush for jaw. Circular motions round out sharpness. Pair with generous highlighter on chin to pull focus downward.
Horizontal contour lines under cheeks (not vertical), minimal forehead, skip jaw. Highlight chin and forehead centre heavily to shorten proportions.
Test in natural light with a profile mirror after each shape adjustment. Start 50% lighter than you think. You can always build. This customisation turns good contour into "that face was always like that" magic.
 Image Source: Adobe Stock.
Even the best contour makeup flops without smart application. Dodge these beginner traps for that flawless, natural finish every time.
Less is more: Heavy layers turn shadows into muddy streaks. Start with a tiny dot per area, build in 2-3 sheer passes. Wipe your brush on a tissue first to offload excess and prevent caking.
Bronzer's warm glow fakes sun-kissed skin, not shadows. Stick to cool taupe/grey tones 1-2 shades deeper than your foundation. Hold it near your jaw in natural light; real contour disappears when you move, bronzer stays orange.
Blending down pulls features south, adding years. Always sweep upward/outward in circular motions from hollows. Insider tip: Use a clean fluffy brush post-application—it lifts and softens without erasing definition.
Front mirror lies. Harsh lines or unevenness show sideways. Step outside or use a phone's profile camera after blending. Rotate 45 degrees during application to catch imbalances early.
Too much glow = disco ball, not dimension. Dot sparingly on peaks only (cheek apex, nose bridge, cupid's bow). Blend with fingertips for skin-like sheen; set with translucent powder if oily.
Dry or unprepared skin grabs product patchy. Prime with moisturiser, wait 2 minutes, then foundation. For oily types: Mattifying primer first prevents sliding shadows by day's end.
If it goes wrong, a damp beauty sponge erases 90%. Blend foundation over the top and restart lighter. Practice on bare skin first to nail muscle memory. These tweaks separate amateur from "pro-faced" results.
 Image Source: Shutterstock.
Bronzer adds warmth and a sun-kissed glow to the high points where the sun naturally hits. Contour uses cool, ash-toned pigments to create depth and realistic shadows that sculpt your natural bone structure.
Apply a cool-toned contour shade just beneath your cheekbones in the natural hollows of your face. Blend the product upwards toward your temples to create a lifted and sharp appearance that enhances your structure.
Cream is generally better for beginners because it is easier to blend and looks more like natural skin. You can easily move the product around until you are happy with the placement.
Place your highlight on the high points of your face where the light naturally hits. This includes the tops of your cheekbones and the tip of your nose to create a high-contrast look.
Choose a contour shade that is two shades darker than your foundation. Make sure it has a cool undertone to look like a real shadow rather than a tan.
 Image Source: Envato.
Loving your contour glow-up skills so far? Turn that passion into pro artistry with IMUA's online makeup courses. In module 2 of 12, Face, Eyebrow, Eye, & Lip Shapes, you’ll master shadow-and-light science for any client, build killer kits, and nail high-fashion lighting, all reviewed by industry experts. Walk out ready for film sets or your own bridal biz. Download our free course guide now and turn your eye for beauty into certified skills!
This post was created by the team at The Institute of Makeup Artistry, with guidance from our professional tutor community. Rachel Dal Santo is our course author and one of our experienced tutors who may support you throughout your online course with us. Get to know her below:

Author & Tutor at The Institute of Makeup Artistry
Rachel Dal Santo, the author of the Professional Makeup Artistry course, is a makeup artist with over 30 years’ experience in many sectors of the makeup industry.
Published :
©2026 The Institute of Makeup Artistry. Registration Code: 45423. All rights reserved.